Ferris Wheel STEM
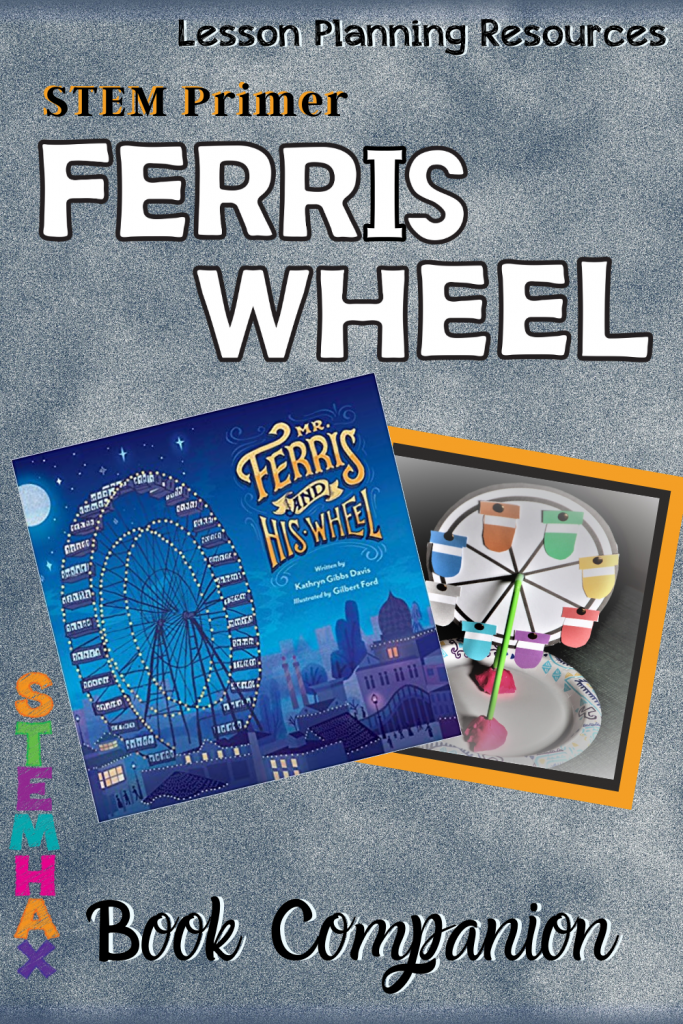
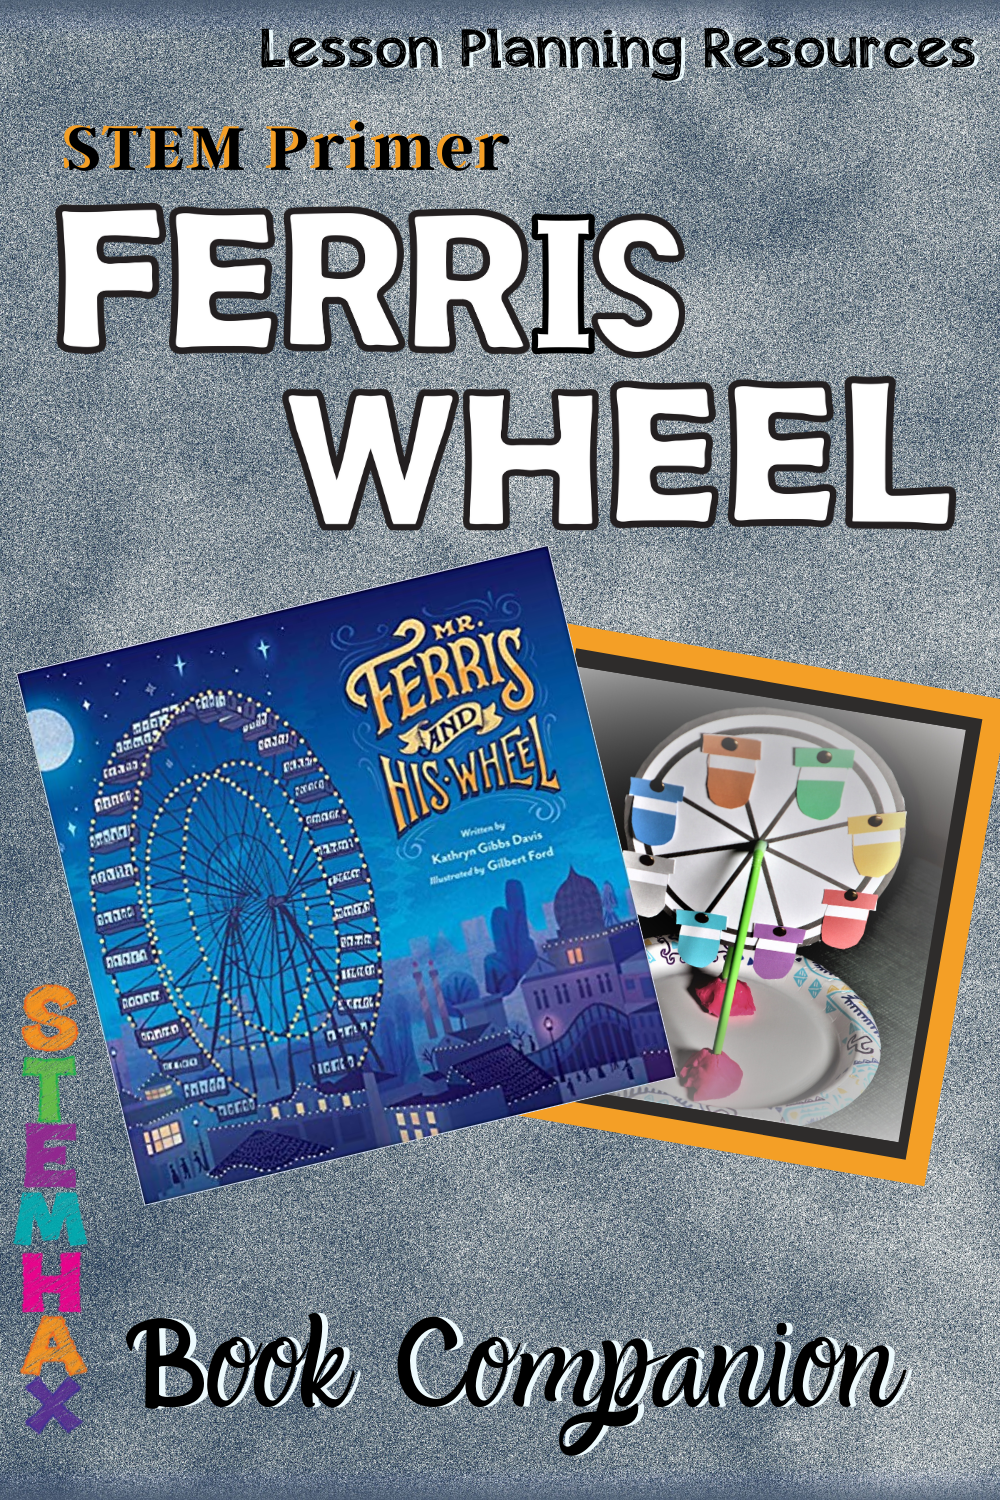
STEM Primer Book Companion: Mr. Ferris and His Wheel
STEM Primer for Young Learners
When kids learn how to ride a bike they usually start with a set of training wheels. When they have learned the basics of riding a bike the training wheels are removed and the child can have confidence on their ability to ride the bike.
The same is true for so many wonderful things in life. Learning how to be proficient at STEM learning is no different. I have seen children become incredibly frustrated because they didn’t have the learning basics or an understanding of the process.
A STEM Primer will help children to build confidence. As young learners progress in age so does their ability to problem solve and they become more proficient in their critical thinking skills. Many of the items I used were purchased at the dollar store.
Mr. Ferris and His Wheel
I just love everything about the book Mr. Ferris and his Wheel. Many great teachers have done STEM based projects using this book and the story of Mr. Ferris. Mr. Ferris and His Wheel, written by Kathryn Gibbs Davis and illustrated by Gilbert Ford, encompasses the meaning of the STEMHAX acronym. This post is a suggested five day book companion lesson plan unit for Mr. Ferris and His Wheel.

Day 1
I strongly recommend having a copy of the book on hand. However, I was inspired to create this blog and STEM Primer Book Companion, after viewing my friend “Storyteller” and her online reading of Mr. Ferris and His Wheel on her YouTube Channel KidTimeStoryTime! We will get to that soon.
If you are an educator in the classroom or a homeschool parent simply talking about what your students know about Ferris Wheels is a great way to engage students into this lesson. In the classroom I suggest the use of large chart paper; a KWL chart is a cool option.
If you are unfamiliar with a KWL Chart here is a good example from Teach for Life on their YouTube Channel. Having the physical book will help jog a students memory, as they may not recall what a Ferris Wheel is by name.
This book is commonly used as a STEM project for upper elementary students who have a knowledge base of the engineering process. The book might feel a little advanced for some students. I feel that allocating 25 minutes of technology or screen time for your students is the way to go. Watching, my friend, the Storyteller and her puppets for the initial reading of this inspiring read aloud version is entertaining and informative (for both children and adults)!
Mr. Ferris and His Wheel / Kids Books Read Aloud!
After watching the video have a discussion question session with your students. There are 12 discussion questions in the Book Companion Packet, available on my TPT.
After the discussion question session have the students cut out the template you printed on card stock and have the child put their name on the back of the wheel. I recommend using pencil as this won’t bleed through the card stock. Collect them and hold onto them for the day of designing the Ferris Wheel.
Teach the Teacher
This video was made back in 2000. I decided to upload it again to my YouTube Channel. Please forgive the video production. I have had a few requests to add it back to the channel. Here it is:

Day 2
Today’s Sample Lesson: Group discussion, reinforcement video, STEMHAX video, planning sheet design, and cabin prep.
Today’s lesson sample could start with using some of the Word Wall Cards in the Ferris Wheel Book Companion Download, or you can make your own cards. The three terms I would discuss prior to watching the Dr. Binocs video are: engineer, axle and spokes. (Once your students are familiar with these terms they will better understand as the video will reinforce their understanding.) Try discussing three of the word wall cards per day, and display as you finish the lesson.
Dr. Binocs: Invention of Ferris Wheel
After watching the video, you may want time to prep the cabins. This can be done as a class or at a center. Having baggies or a container to store individual students cabins is a good way to assure they are stored safely. There are eight cabins on the template so it will take a while to cut them out. I would recommend doing four one day and four the next.

If you have early finishers, there is a word search and an easy crossword puzzle included in the packet.
Next, is the planning stage of how to build a Ferris Wheel. There are many steps to the engineering process. However, young learners can focus on four elements: ask, imagine, plan and create. The download includes a cute planning sheet. If you have the time you can create your own, if not I have done the work for you.

Day 3
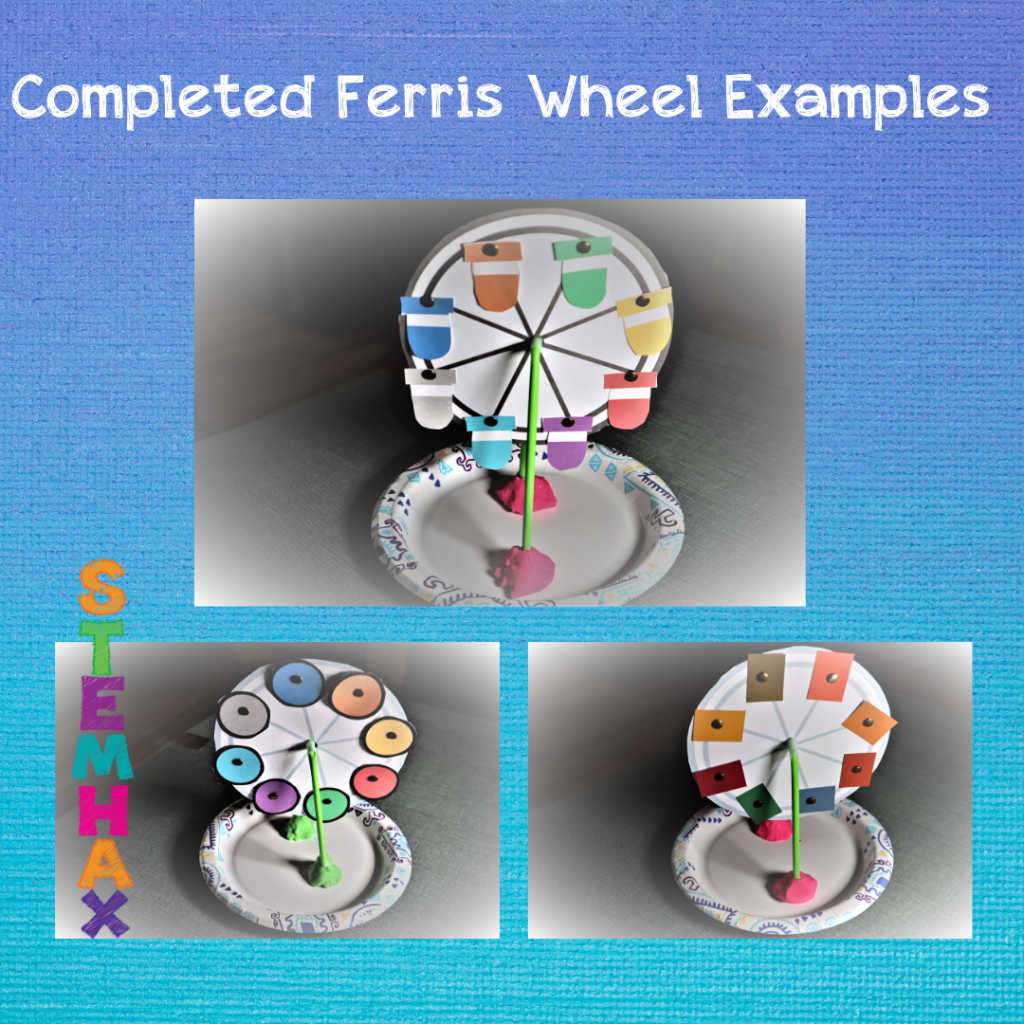
Time to make the model of a Ferris Wheel; gather all supplies needed, re-watch STEMHAX video and have students create their own models. There is no wrong way to build their Ferris Wheel. Some students will want to follow their planning sheets and others will make changes as they go along based on how things are working or not working.
This is a learning activity and a failed design is sometimes the best way to learn. Ask questions while watching students build their model, do not offer advice. As adults we already have the building blocks of critical thinking, if you catch yourself offering alternatives simply turn it into a question.
Day 4
Day 4 and Day 5 are interchangeable, or can be done on the same day.
Take your students on a virtual field trip. Check out this video from the Family Fun Pack YouTube Channel. One family visited the largest Ferris Wheel on the East Coast. It is in Florida and overlooks the theme parks. Discussion questions might include, “would you be brave and go on this Ferris Wheel?” “Have you visited Florida?” ETC.
400 Feet IN THE SKY Riding the Orlando Eye Huge Ferris Wheel!!
Next, it’s time to test the Ferris Wheel. Did the model work? Have a group discussion on how things could be changed to make it better.
Day 5
Finally, the last day of the project. Today we re-read the book and do a report.
If you obtained a copy of Mr. Ferris and His Wheel read it aloud to your class. If your local library doesn’t have a copy watch the Storyteller’s version again. Once you have completed the reading, finish the KWL Chart you started on the first day.
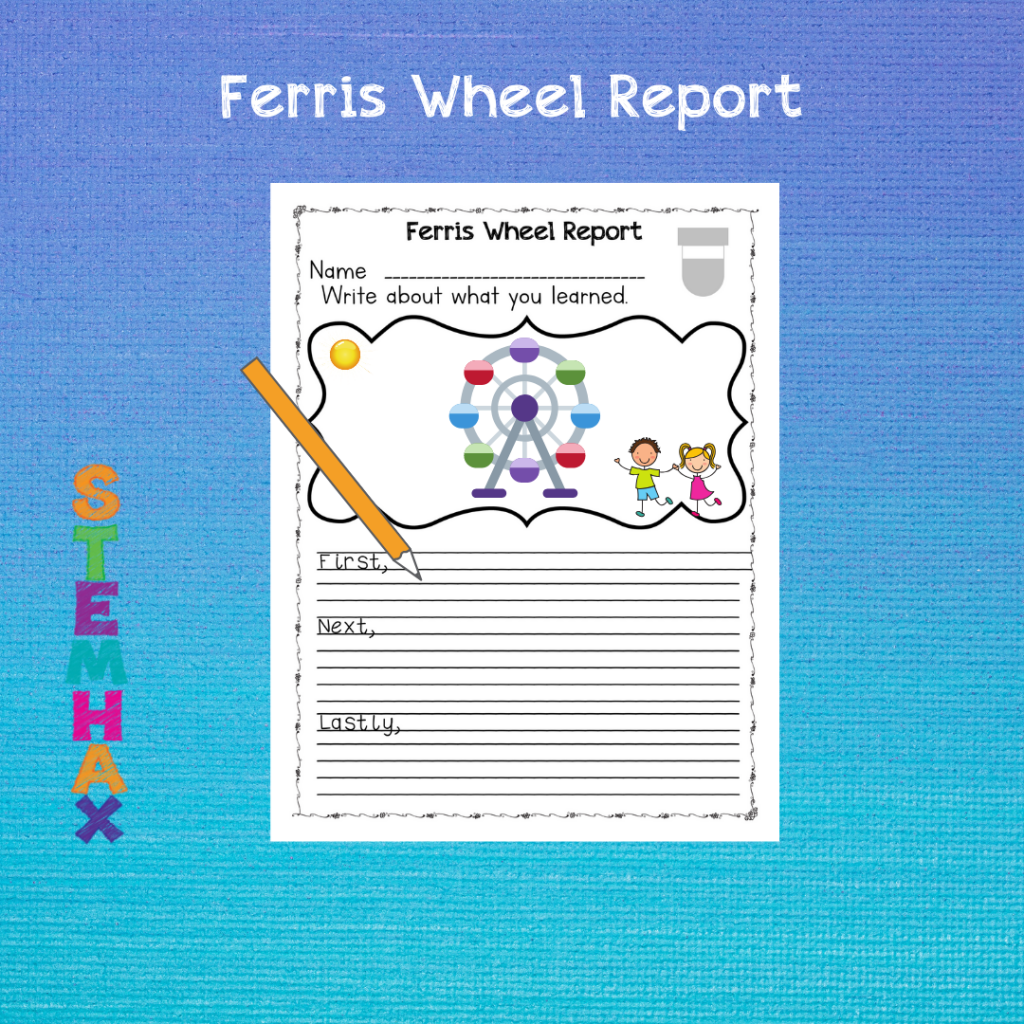
Use the Ferris Wheel Report with your students. Kids can do a traditional book review, write about what they learned or journal about the engineering process. Young learners love options, and when they have a choice they put more effort into their work.
Final Thoughts
Once you find out what kids know and what they are interested in learning more about, you can alter the exploration to meet their needs. This post is a starting point and guide to help share this amazing book about a wonderful engineer and inventor who made such an impact on our world.
DIFFERENTIATION: Some children will not be able to use the brads. An alternative option is to use either the round or square template and have them glue the cabins onto the wheel. Other children will want to draw people in the cabins and decorate them, too. This is why there is a gray-scale template available in the download.
The products I used to create the Ferris Wheel:
- Paper plates
- Bendy Straws
- Play Dough (buy it or make it yourself with hints from our blog)
- Brads
- Scissors
- Colored Pencils
Thank You
Thank you for taking the time to read this blog post. If you found this helpful and would like to follow us and learn about our lesson planning resources, we are on all social media @ STEMHAX. I would love to hear from you on Instagram or Facebook about how your students did with their Ferris Wheels. The full downloadable packet with all the printable worksheets are available in my TpT Store. Thank you and Happy Lesson Planning!
This post contains affiliate links; if you make a purchase, I may make a small commission at zero cost to you. THANK YOU!!

